


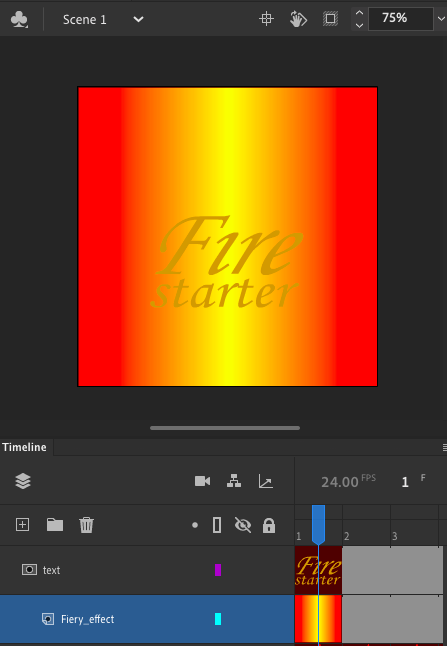
The first thing I made sure to do in this post is to unlock my fiery text layer by selecting my selection tool and clicking the lock icon on that layer so I am able to delete the fire image that appears on frame one of the layer.The next thing I focused on was creating a orange and yellow rectangle shape that will cover the spot where my fire image was overlapping by first using my selection tool to pick the gradient tool from my tools panel which allows a new panel to appear to the right of my projects workspace titled color.I then had to convert the color box to a gradient type of color by selecting solid color from the color menu and choosing the Linear gradient option.By doing this simple step I was then able to reset the color swatches in the color menu to red on both sides of the rectangle and yellow in the center of the shape by clicking and dragging my color watches or typing the color values listed as red and yellow in the animate book I’m using into the color panel.The next and last thing I had to do is select the rectangle tool from my tools panel to the right of my project workspace and use my selection tool to click and drag the shape onto the entire stage which allowed a red and yellow gradient shape to overlap my text layer in my projects workspace.
