

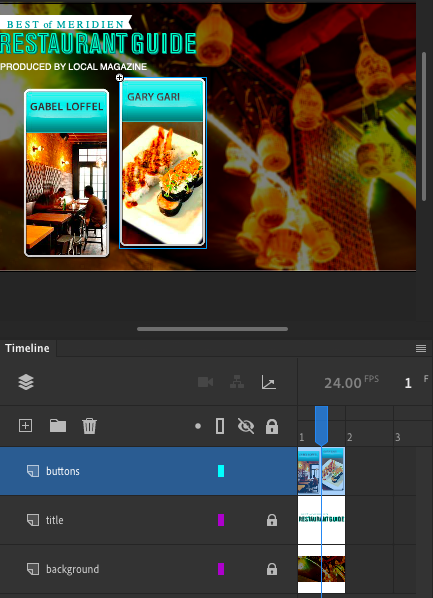
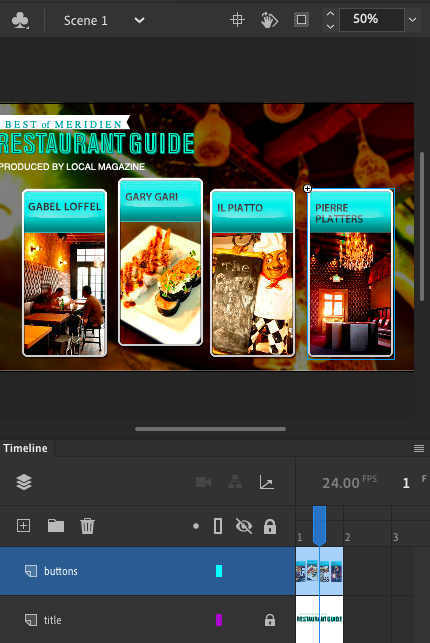

The moment I finished creating all four of my restaurant buttons and placed them into a single folder called restaurant buttons I then had to focus on actually adding them to the stage of my projects workspace.In order to do this I had to first create a new layer by using my selection tool to select the new layer icon which looks like a plus sign in the middle of a rectangle.By doing this I was then a new layer was able to instantly appear in timeline panel of my project workspace which permitted me to drag it to the very top of my timeline panel so its above all my other layers and rename it buttons.The next thing i had to do is open my restaurant button folder from my library panel so Im then able to use my selection tool to click and drag each individual button symbol onto the center of projects stage.I then took the notion to reposition each image of the button symbols to appear almost exactly how it should look in the animate lesson eight book.After doing this I then had to change the X value for my first image to 100 and the X value of my last image to 680 so their some space between each button symbol.The next and last thing I had to do in this blogpost is realign each image once again by first making sure to select all the button images with my selection tool and picking the align and spacing icons from the properties panel of my projects workspace to instantly align each button symbol evenly with each other on my projects stage.I also had to test each button after realigning them by selecting the control option at the top of my projects workspace and clicking the test movie button which allows me to select each button and test the sound of each one as well.
